Meta Pixel Not Working on Webflow: How to Fix It

When the meta pixel is not working on Webflow, the code, domain, consent setting, or test method usually needs checking. Confirm the Pixel ID, publish the Webflow site, test the live URL in Events Manager, and check whether a consent tool blocks the script. Don’t edit Webflow’s site code blindly or open any hardware.
$ part ofMeta Pixel Not Working? How to Fix Tracking on Any PlatformThe complete guide this article belongs toOpen guide →The result changes with your Webflow plan, the page where the code was added, the browser’s privacy settings, and whether visitors must accept cookies. Your Pixel may be installed correctly but still show no event until the live page loads and consent is granted.
Who needs a Webflow Pixel fix
This guide suits a Webflow site owner whose Meta Pixel stopped recording page views, leads, purchases, or other browser events. You may already have a Meta Business account and a Pixel ID, but you need a safe way to find the broken part.
It also helps a marketer who can open Meta Events Manager but can’t tell whether the problem is Webflow, the Pixel, or a browser extension. That reader needs checks that don’t require JavaScript knowledge or access to hosting tools.
A third reader may see a warning such as “No activity received” after adding the code. That person needs to know whether the code was added to the site settings, one page, a custom embed, or a consent platform.
This page serves the first two readers best. It assumes you can log in to Webflow, Meta Business Suite, and the site’s live domain. If you’re trying to track server-side events, repair custom JavaScript, or manage advanced consent rules, you’ll need a Webflow developer or a privacy specialist.
What controls Pixel tracking
The first cause to check is the Pixel ID. A wrong ID can load valid Meta code while sending events to a different data source, so compare the ID in Webflow with the ID shown in Meta Events Manager.
The second cause is the published site. Webflow Designer changes don’t reach visitors until you publish the affected site or domain. If the code exists only in Designer preview, check the live URL in a private browser window.
The third cause is code location. Site-wide code belongs in Webflow’s custom code settings, while a page-only script may affect only one page. Compare the page where you expect the event with the page where the code was added.
Consent tools and browser privacy settings can also block browser events. If tracking appears after accepting cookies but not before, the consent setup is controlling the result. Check the banner’s consent category and the tool’s integration instructions.
The issue people misread most often is the testing method. Ad blockers, browser extensions, cached pages, and Meta’s own reporting delay can make a working Pixel look broken. Test with extensions disabled, then confirm the event in Meta Events Manager rather than trusting one browser tab.
Safe checks before changing code
Use these checks in order. They confirm the common causes without opening files, changing DNS, or editing JavaScript.
-
Copy the Pixel ID from Meta Events Manager. Compare every digit with the ID saved in Webflow. The check works when both IDs match exactly.
-
Open the published site in a private window. Use the real domain, not Designer preview. The check works when the live page loads without a Webflow staging address.
-
Accept the site’s analytics or marketing consent. Reload the page after accepting. The check works when the banner closes and tracking is allowed for that category.
-
Visit the page that should send the event. A site-wide PageView check differs from a form or purchase event. The check works when you complete the intended action once.
-
Open Meta Events Manager and select the same data source. Use the Test Events area for live testing. The check works when Meta shows a recent browser event.
-
Disable ad-blocking extensions for one test. Keep the test limited to your own site and browser. The check works when the event appears only after the extension is paused.
-
Check Webflow’s publish status. Publish the affected domain again if the settings changed after the last publish. The check works when the live page contains the latest site version.
-
Test another browser or phone. Use a device without your usual privacy extensions. The check works when the event appears there but not on your normal browser.
Don’t paste several Pixel snippets or edit custom JavaScript to force a result. If the live page still fails after these safe checks, ask a Webflow developer to inspect the page source and consent integration.
Webflow Pixel cases compared

The right fix depends on where the event disappears. This table helps you choose the smallest safe change.
| Situation | What to do | What it takes | What to watch for |
|---|---|---|---|
| No events anywhere | Check ID and publish | Short browser check | Wrong data source |
| Events after consent | Review banner settings | Consent review | Legal requirements |
| PageView works, lead fails | Check form event setup | Page-specific work | Thank-you page logic |
| One domain fails | Compare domain settings | Domain comparison | Redirect differences |
| Preview works, live fails | Publish site changes | New site publish | Staging URL confusion |
| One browser fails | Test without extensions | Second browser | Ad-blocking interference |
| Duplicate events appear | Remove repeated snippets | Code cleanup | Double counting |
Details that separate clean tracking
Prepare the live test
A reliable check starts with one data source, one live URL, and one test action. Write down the Pixel ID before changing anything, then test in a private window after accepting the required consent.
Check the page source only if you’re comfortable viewing it, not editing it. You’re looking for the expected Meta script or event marker, while remembering that browser tools can show different results when extensions block trackers.
A common costly mistake is adding the Pixel again because Events Manager showed no event. That can create duplicate PageView or lead events, which can distort reporting and campaign optimisation. Confirm the data source and test once before adding code.
Leave working code alone
Good troubleshooting changes one thing at a time. If you update Webflow custom code, publish, then retest the same live page; don’t also change the consent tool, form, and event name together.
Check the event name and trigger while the action happens. A form event tied to a successful submission won’t fire when a visitor only clicks a button, and a purchase event won’t be reliable if the confirmation page never loads.
If PageView works but a custom event doesn’t, leave the base Pixel in place and inspect the event trigger. Replacing the whole installation can remove a working part while hiding the real problem.
Webflow Pixel symptoms and fixes
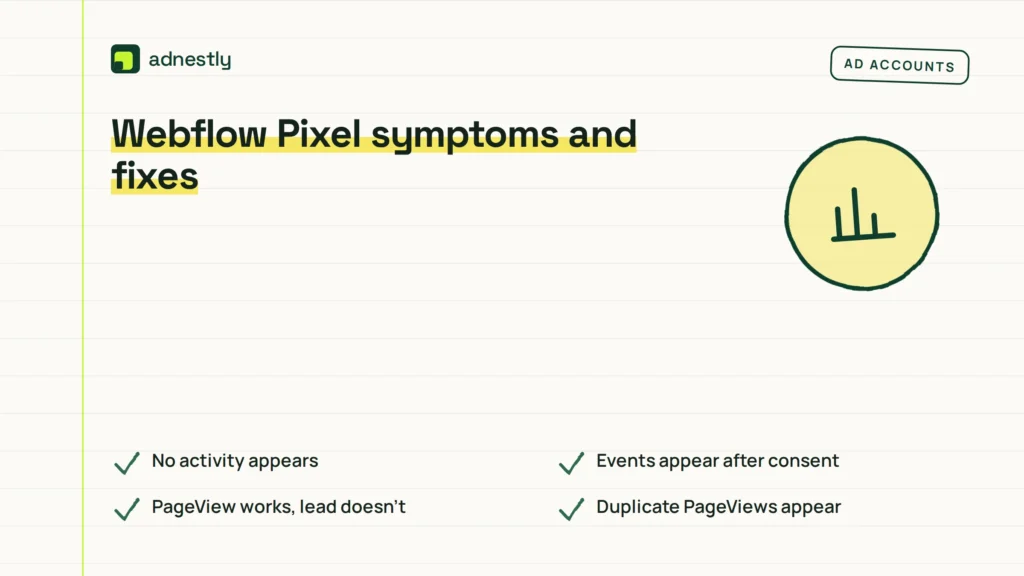
A symptom narrows the search, but it doesn’t prove the cause. Start with the first safe action in the matching row.
| What you notice | What it usually means | What to do first | How to stop it happening again |
|---|---|---|---|
| No activity appears | Wrong ID or unpublished site | Compare ID, publish site | Record the live data source |
| Events appear after consent | Consent blocks tracking | Accept marketing consent | Test each consent state |
| PageView works, lead doesn’t | Lead trigger is missing | Test successful submission | Keep event trigger documented |
| Duplicate PageViews appear | Pixel code exists twice | Find repeated installation | Keep one base installation |
| One browser fails | Extension blocks tracking | Test another browser | Exclude site during testing |
| Preview works, live fails | Changes weren’t published | Publish the live domain | Retest after each publish |
| Purchase count stays empty | Confirmation event fails | Check confirmation page | Test a completed transaction |
Rules for Meta tracking
Meta’s Pixel setup depends on the data source, event code, domain, and account permissions. Meta’s official Pixel setup guide explains the base code and event setup; use it when you need to compare your installation with Meta’s current instructions.
Consent rules aren’t the same everywhere. The requirement can change by visitor location, business type, data use, and consent platform, so check the privacy or cookie guidance published for the countries you serve.
Meta may also apply account, domain, event-quality, or data-sharing limits. Read the notices inside Events Manager for the exact data source, because a warning for one Pixel doesn’t automatically describe another.
Stop before changing legal consent behavior yourself if you don’t know the applicable rule. Ask a privacy professional to review the banner, consent categories, and regional settings; a Webflow developer can then apply the approved setup.
The real cost of a broken Pixel
The direct cost may be zero if the problem is an unpublished Webflow change or a mismatched Pixel ID. The larger cost is lost measurement: you may pause a good campaign, blame the wrong landing page, or count the same lead twice.
Time rises when the setup includes several domains, a consent platform, custom form events, or server-side tracking. Compare the number of pages, event types, and data sources before choosing a fix.
A small site with one domain can usually start with the safe checks above. A store with several checkout paths should compare browser events with its order records before trusting a repaired Pixel.
Don’t guess a repair price. Ask a Webflow developer for a written scope covering the audit, event checks, consent integration, and retest; the current rate depends on location and technical complexity.
Keeping Webflow tracking reliable
Keep a short record of the Pixel ID, live domain, event names, consent tool, and the page that triggers each event. This makes the next check faster and helps prevent a second installation.
Retest after any Webflow custom-code change, domain change, form redesign, checkout change, or consent-banner update. The sign that attention is needed is a mismatch between real actions and Events Manager results.
Compare important events with your own form submissions or order records. A Pixel report isn’t a substitute for your business records, especially when browsers, consent choices, or ad blockers prevent browser events.
If a working event disappears, first check whether the page changed or the consent state changed. Don’t start over until you’ve confirmed the base Pixel and the selected Meta data source.
When Webflow Pixel fixes aren’t right
This approach isn’t enough when you need server-side tracking, deduplication, or a complex checkout connection. Use a developer who works with Meta Conversions API and can document browser-to-server event matching.
It’s also the wrong choice when your consent setup is legally uncertain. Ask a privacy professional to decide what tracking is allowed, then have the developer apply those settings.
If the page contains custom JavaScript you can’t identify, don’t keep pasting snippets into Webflow. Stop and ask a Webflow developer to inspect the code safely; changing unknown scripts can break forms, redirects, or other analytics.
Frequently asked questions
Can a Webflow Pixel work without custom code?
Yes, if Webflow or an approved integration places the correct Meta Pixel code on the live site. You’ll still need the right Pixel ID, a published domain, and a test that matches the visitor’s consent state. A page-only event may need separate setup.
Why is my Meta Pixel active but showing no events?
The Pixel can be active while the live page sends no visible event because the site wasn’t published, consent blocked tracking, or you selected another data source. Check the live URL, accept the required consent, and test the same Pixel in Events Manager.
How long does Meta Pixel reporting take?
Test Events should help you check a live browser action immediately, but standard reporting can take longer and may differ from real-time testing. Judge the installation with a controlled test first, then compare later reports with known visits or conversions.
Is it safe to remove a duplicate Pixel?
Usually, removing a confirmed duplicate installation is safer than leaving both active, but don’t delete code you haven’t identified. First record the Pixel ID, locate each installation, and ask a developer if the code is part of another marketing integration.
What happens if I use the wrong Pixel ID?
Events can be sent to the wrong Meta data source, so your chosen Pixel may remain empty while another account or source receives activity. Compare the ID in Webflow with the selected source in Events Manager before changing event code.
Does it matter where Webflow code is added?
Yes. Site-wide code can load across the published site, while page-level code may affect only one URL. A form or purchase event also depends on its trigger page, so test the exact action and page where the conversion should occur.
Can an ad blocker stop Meta Pixel events?
Yes, a browser extension can prevent browser tracking code from loading or reporting. Test your own live page in another browser without the extension, but don’t ask visitors to disable protection. Treat that test as a diagnostic, not a universal fix.
What to do with Webflow Pixel first
Start by matching the Pixel ID in Webflow with the ID shown in Events Manager. Publish the site, then test the live Webflow URL rather than the Designer preview. Use a clean browser session, accept the consent prompt, and check Events Manager for the expected browser event. Testing before consent can make a working setup look broken.
If the ID matches but no event appears, reload the published page and confirm that consent was granted. If it still fails across clean browsers, stop changing code and contact a Webflow developer with the live URL, Pixel ID, browser used, and consent result.

Aaron Kelly writes about Facebook tools, account management, and business advertising. His content covers account security, Facebook Ad Accounts, Business Manager setup, Pixel and conversion tracking, Business Manager verification, and admin profile verification. He focuses on explaining technical processes and common account issues in practical terms, helping businesses and advertisers manage their Facebook assets more effectively and build a more secure, reliable advertising setup.
Checked against Meta’s own documentation. How we write and update guides