Paid for by Disclaimer Facebook Ads: What It Means and How to Fix It

A paid for by disclaimer on Facebook ads is a label Meta requires to show who funded an ad about social issues, elections or politics. It appears at the top of the ad and links to a public archive. You fix a missing one by verifying your identity, enabling the label in Ads Manager, and linking a confirmed Page.
$ part ofFacebook Ad Account Problems: How to Fix Every Common IssueThe complete guide this article belongs toOpen guide →The exact steps change based on your country, your ad category, and whether you run ads from a business account or a personal profile. Your location decides if the rule applies to you at all. The category decides which documents Meta asks for.
Who needs the paid disclaimer on Facebook ads and what it means
Advertisers running election campaigns need this page to set up their funding label correctly. They already have a registered organization and know their campaign dates. What they actually need is the document checklist and the exact menu path inside Ads Manager so their ads don’t get rejected on launch day.
Small businesses promoting everyday products land here because Meta flagged their ad by mistake. A bakery advertising bread shouldn’t trigger a political review. These readers need to know how to appeal the flag or adjust their copy so the automated system stops treating them like a political committee. If your ad sells shoes or software, read Meta’s general advertising policies instead.
Nonprofits advocating for social issues make up the third group. They know their cause matters, but they aren’t sure if Meta considers it “political.” This page serves the first and third groups best. It assumes you’re running ads from a Facebook Page, not a personal profile, and that your goal is getting the label approved before your budget starts spending.
What decides if your ad gets flagged
Meta’s automated systems scan every ad for topics that require a disclaimer. Four specific things decide if your ad gets flagged and blocked. Knowing them saves you from guessing why your campaign won’t publish.
Your country is the biggest factor. Meta enforces these rules differently depending on where you live. In the US, ads about national elections and broad social issues need the label. In some European countries, the list of covered topics is shorter. Check Meta’s official help center for the current list of eligible countries and their specific topic categories.
The topic of your ad comes next. Elections, candidates, and ballot measures always trigger the requirement. Social issues like civil rights, immigration, and environmental policy also count. If your text mentions these subjects, the system flags it. This is the thing people get wrong most often. They think only direct candidate ads need the label, but issue-based ads get caught too.
Your Page’s authorization status matters. Even if your ad is about politics, it won’t run without prior setup. You must submit government-issued ID and confirm your location before publishing. Without this step, Ads Manager blocks the campaign immediately.
Finally, the exact words in your ad copy act as triggers. Using phrases associated with voting drives or legislative debates tells the algorithm to pause your ad. Changing a single word can sometimes move your ad out of the restricted category entirely.
How to add the disclaimer to your ad
Getting the label on your ad takes about ten minutes once your documents are ready. Follow these steps in order inside Meta Ads Manager.
- Open Ads Manager and select the campaign containing your flagged ad.
- Click the ad level, then find the “Identity” section in the right panel.
- Toggle the switch for “Special Ad Category” and select “Social issues, elections or politics.”
- Choose the Facebook Page authorized to run the ad from the dropdown menu.
- Enter the name of the organization paying for the ad exactly as it appears on your submitted documents.
- Upload your government-issued ID if Meta prompts you during this step.
- Wait for the confirmation message saying your identity is verified.
- Review the ad preview to ensure the gray “Paid for by” text appears at the top.
- Publish the ad or resubmit it if it was previously rejected.
The judgment call happens at step five. The organization name you type must match public records perfectly. If you use a nickname or a shortened version, Meta’s review team will reject it again. You’ll waste another 48 hours waiting for approval. Match the legal name on your paperwork.
If your ad involves spending over certain thresholds defined by local election commissions, you may need to register as a political entity first. That process requires legal training or professional compliance help. Stop here and contact a campaign lawyer if your spending crosses those limits.
Situations that change what you do
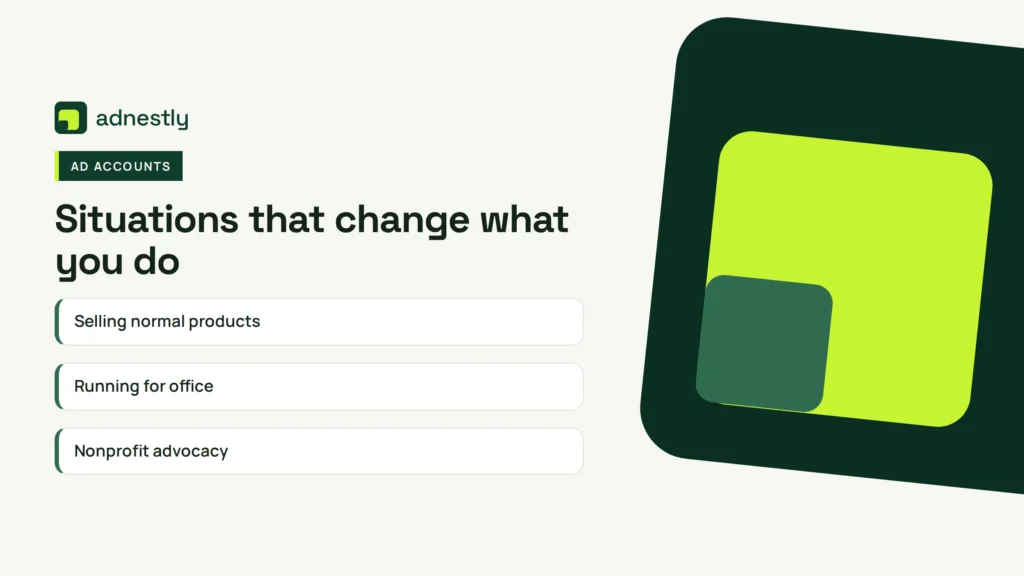
Different starting points mean different fixes. Use this table to find your exact situation and the action required.
| Your situation | What to do | What it takes | What to watch for |
|---|---|---|---|
| Selling normal products | Remove political keywords | 5 minutes editing | Automated rejections stopping |
| Running for office | Complete full identity verification | 2 days wait time | Name matching legal documents |
| Nonprofit advocacy | Apply for social issue category | 10 minutes setup | Topic list updates changing rules |
| Ad flagged by mistake | Submit manual appeal form | 24 hours review | Copy changes triggering new flags |
| Multiple Pages managed | Authorize each Page separately | 15 minutes per Page | Wrong Page selected in dropdown |
| Outside supported countries | Run standard commercial ads | No extra setup | Local laws still requiring labels |
Pick the row that matches your current problem. Don’t try to verify your identity if you’re just selling t-shirts and got flagged accidentally. Fixing the text is faster than applying for a political label you don’t actually need.
Details that keep your ad approved
Setting up the Page correctly
Your Facebook Page must have two-factor authentication turned on before Meta approves it for political ads. Go to your Page settings, find the security tab, and enable it using an authenticator app. SMS verification works too, but apps are harder to compromise.
The Page admin submitting the ID must be listed as an admin for at least seven days. Meta rejects applications from newly added admins to prevent hijacked Pages from running unauthorized political content. Check your Page roles to confirm how long you’ve held access.
Writing copy that passes review
Ads about social issues need precise wording. Vague claims about “protecting our future” often trigger manual reviews because the system can’t categorize them. State your position clearly using terms Meta recognizes in its published policy lists.
Don’t mix commercial offers with political messaging in the same ad. A discount code next to a voting reminder confuses the review algorithm. Split them into two separate campaigns. One gets the disclaimer; the other runs as a standard commercial ad without the extra scrutiny.
Why your political ad got rejected
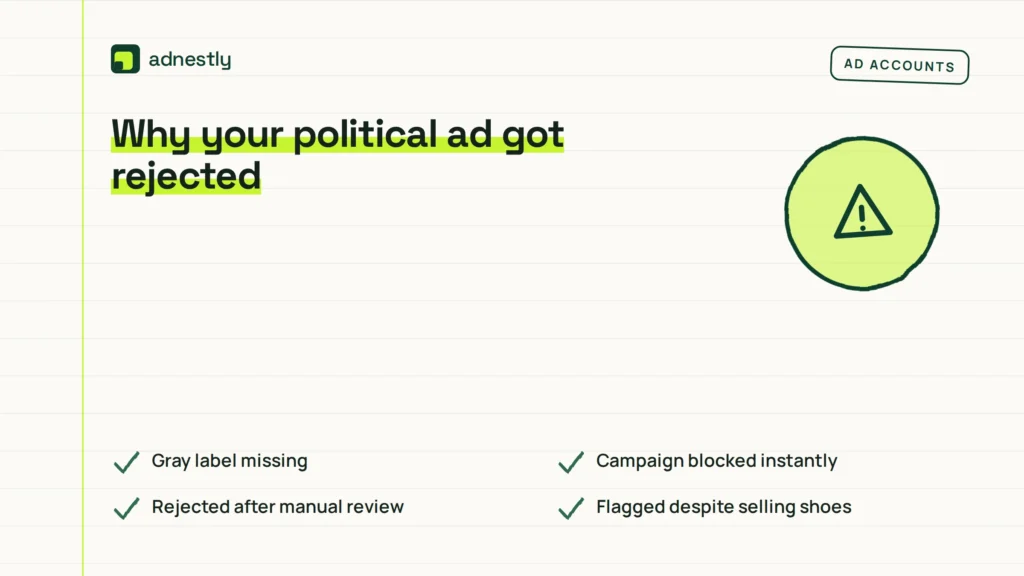
When your ad fails to publish, the error message rarely explains the real cause. Match what you see on screen to the actual problem below.
| What you notice | What it usually means | What to do first | How to stop it happening again |
|---|---|---|---|
| Gray label missing | Identity not fully verified | Check Page authorization status | Finish verification before scheduling |
| Campaign blocked instantly | Special category not selected | Toggle social issues switch | Save ad template with category on |
| Rejected after manual review | Organization name mismatch | Edit payer name exactly | Copy name directly from documents |
| Flagged despite selling shoes | Trigger words in copy | Remove political phrasing | Scan text against Meta’s list |
| Only one Page showing | Others lack admin confirmation | Add yourself as admin | Wait seven days before applying |
| Appeal denied repeatedly | Missing government ID upload | Submit valid photo ID | Keep digital copies ready beforehand |
If your appeal fails three times, the issue isn’t the algorithm anymore. Contact Meta’s advertiser support directly through your business manager account. Continued automated appeals just reset the clock without fixing the underlying document problem.
Rules behind the funding label
These requirements come from Meta’s own policies, shaped by election laws in different regions. In the US, the Federal Election Commission sets rules for campaign finance disclosures, and Meta built its ad tools to align with those standards. You can read the FEC guidance on disclaimers to understand the legal baseline Meta follows.
Meta requires advertisers to confirm their identity and location before running ads about social issues, elections, or politics. This applies to anyone targeting users in countries where the policy is active. The list of covered countries and topics lives on Meta’s official transparency pages.
If you operate outside the US, your local election authority might have stricter rules. Some nations require registration numbers printed directly on the creative itself, not just in the platform’s automated label. Check your national electoral commission’s website for those specifics.
Crossing spending thresholds turns a simple ad into a regulated campaign expenditure. When that happens, you need a compliance officer or legal counsel. Platform tools alone won’t satisfy government reporting requirements past those limits.
What verification actually costs you
Setting up the disclaimer doesn’t cost money directly. Meta doesn’t charge a fee to verify your identity or apply the label. The real cost is time and delayed launches.
Identity verification takes between 24 and 48 hours under normal conditions. During major election cycles, that wait stretches longer because human reviewers face massive backlogs. Plan your campaign start date around this delay, not the other way around.
If your ad gets rejected, fixing it costs another review cycle. Three rejections mean nearly a week of lost momentum. For time-sensitive campaigns like voter registration drives ending on a specific date, that lost week is more expensive than any ad budget.
The hidden cost is administrative friction. You need physical access to a government-issued ID, a phone capable of receiving two-factor codes, and admin rights to the Page. Losing access to any of these mid-campaign halts everything until you recover them. Compare your current setup against these requirements before you commit your daily budget.
Keeping your authorization active
Once your Page is authorized, the status doesn’t last forever without maintenance. Meta periodically asks you to reconfirm your identity. You’ll see a notification in your Page’s inbox when this happens. Ignore it, and your authorization expires silently.
An expired authorization means your next political ad gets blocked immediately. You won’t get a warning email. The only sign is the rejection notice inside Ads Manager. Check your Page settings monthly to ensure the green checkmark next to your authorization status is still there.
Store your verification documents securely. If you change phones or lose access to your two-factor authentication app, recovering your authorized status takes much longer. You’ll have to restart the ID submission process from scratch.
If your organization changes its legal name, update your Meta authorization before launching new ads. Running an ad under an old name while your documents show a new one triggers an automatic mismatch rejection. Update the payer name field in Ads Manager to match your newest paperwork.
When you shouldn’t use this setup
If your ad promotes a purely commercial product with no connection to public debate, adding this label hurts you. Political ads face stricter delivery limits and lower trust scores in some algorithms. Don’t opt into restrictions you don’t legally need. Just edit your copy to remove accidental trigger words instead.
Organizations operating solely in countries where Meta hasn’t rolled out these requirements shouldn’t attempt verification. The tools simply won’t work, and contacting support will only confuse your account history. Check Meta’s supported regions list first.
If you’re managing ads for a client who refuses to provide their government ID, you can’t complete this process. Don’t try to use your own personal ID for a corporate political campaign. That violates Meta’s terms and risks banning your personal profile permanently. Tell the client they must handle their own legal verification or hire a specialized political ad agency equipped to manage compliance.
Frequently asked questions
Can I run political ads without the disclaimer?
No, you cannot. Meta blocks ads about elections or social issues that lack the required funding label. Attempting to bypass this by hiding keywords results in account restrictions. You must complete verification first.
Why did my shoe store ad get flagged?
Automated systems scan for trigger words related to social issues. If your copy mentions labor rights, trade policies, or environmental materials, the algorithm treats it as political. Remove those specific terms and resubmit the ad for standard commercial review.
How long does identity verification take?
Verification typically takes 24 to 48 hours when volumes are normal. During major elections, expect delays up to five business days. Submit your documents well before your campaign launch date to avoid missing critical windows.
Is it safe to upload my ID to Facebook?
Meta encrypts identity documents and uses them solely for verification purposes. However, uploading sensitive data always carries inherent privacy risks. Read Meta’s data policy regarding political ad authorization before deciding if you’re comfortable proceeding.
What happens if my authorization expires?
Your active political ads stop delivering immediately. New ads in the special category get rejected at the review stage. You must resubmit your identity documents and wait for the full verification period again to restore delivery.
Does this apply to Instagram ads too?
Yes, it does. Meta manages both platforms through the same Ads Manager interface. An authorization applied to your Facebook Page covers Instagram placements automatically, provided the accounts are linked within your business portfolio.
Do I need a business manager account?
You don’t strictly need Business Manager, but you must be an admin of the Facebook Page running the ad. Business Manager makes handling multiple Pages easier. Personal profiles can’t carry the political ad authorization independently.
Can I change the payer name later?
Yes, you can update the organization name in the ad setup. However, the new name must still match the entity that completed the initial identity verification. Significant legal name changes require submitting updated documentation to Meta.
Start your Facebook ad verification today
Go to your Page settings and turn on two-factor authentication right now. Expect the verification badge to appear within 48 hours if your documents match perfectly. If Meta asks for a new ID upload after three failed attempts, stop trying yourself and contact their advertiser support team directly.

Aaron Kelly writes about Facebook tools, account management, and business advertising. His content covers account security, Facebook Ad Accounts, Business Manager setup, Pixel and conversion tracking, Business Manager verification, and admin profile verification. He focuses on explaining technical processes and common account issues in practical terms, helping businesses and advertisers manage their Facebook assets more effectively and build a more secure, reliable advertising setup.
Checked against Meta’s own documentation. How we write and update guides