Domain Not Verified Warning in Facebook Ads Manager

A domain not verified warning in Ads Manager usually means Meta can’t confirm that your business controls the website connected to an ad account, pixel, catalog, or conversion setup. It doesn’t always stop campaigns immediately, but it can limit event configuration, create attribution problems, or prevent you from selecting certain website events. The fix is normally to verify the domain in Meta Business Settings, then confirm your tracking and permissions.
Key Takeaways
- Verify the root domain in the correct Meta Business Portfolio, not only inside Ads Manager.
- Add one verification method: DNS TXT, an HTML file, or an HTML meta tag.
- Use the exact domain format Meta displays, usually without
https://, a page path, or a trailing slash. - Make sure the person verifying the domain has full control of the business portfolio and website DNS or hosting.
- After verification, configure the domain’s web events, pixel, dataset, and aggregation settings if Meta requests them.
- A verified domain doesn’t automatically fix pixel firing, Conversions API errors, consent problems, or incorrect event priorities.
What the Domain Not Verified Warning Means in Ads Manager
Meta uses domain verification to establish which business controls a website. This matters because several businesses may advertise to the same domain, use similar pixels, or attempt to configure conversion events for pages they don’t control.
The warning generally appears in one of these places:
- Ads Manager while creating or editing a website campaign
- Events Manager near a pixel, dataset, or web event
- Business Settings under Brand Safety or Domains
- A campaign’s conversion location or event-selection screen
- A catalog or shop setup connected to a website
The warning may say that the domain is unverified, can’t be verified, or needs attention. These messages are related but not identical. “Unverified” usually means no successful verification exists. “Can’t verify” often means Meta checked your selected method and didn’t find the required record or file. “Not authorized” can indicate that another business controls the domain or that you lack the necessary permissions.
Verification isn’t ownership transfer. It doesn’t move a domain between registrars, change your hosting, or prove that every page on the site is compliant. It simply gives Meta a control signal that you manage the domain.
It also doesn’t guarantee approval for ads. Meta can still reject ads for landing-page quality, restricted products, misleading claims, broken links, or policy violations. Verification solves an asset-control issue, not an ad-policy issue.
Which domain should you verify?
Verify the domain that appears in the final landing-page URL or in your website event setup. For example:
example.comcoverswww.example.comin many configurations, but check the exact entry Meta creates.shop.example.commay be treated separately fromexample.com.example.com/storeis a page path, not normally the domain you should enter.- A shortened URL shouldn’t replace the actual destination domain.
- A third-party checkout domain may require separate configuration if customers leave your website to pay.
Use the root domain when your website, pixel, and ads all operate there. If your ads send traffic to store.example.com while your events are configured on example.com, document both assets and verify the domain Meta actually identifies in the setup screen.
Before You Start
Collect access before opening Business Settings. Verification often fails because the Meta administrator and the website administrator are different people, not because the record itself is wrong.
You may need access to:
- The correct Meta Business Portfolio
- The relevant ad account and dataset
- Your domain registrar, such as GoDaddy, Namecheap, Cloudflare, or Squarespace Domains
- Your DNS manager, which may be separate from the registrar
- Your website host, such as WordPress hosting, Shopify, Wix, or Webflow
- The site’s HTML header or file system, if using an on-site method
Write down the precise domain from your ad’s final URL. Remove the protocol, such as https://, and don’t include a page path unless Meta specifically instructs you to do so.
Check whether your site uses a content delivery network. Cloudflare, for example, can manage DNS even when another company registered the domain. Adding the TXT record at the registrar won’t work if the authoritative nameservers point to Cloudflare.
Access checklist
| Item to check | What you need | Why it matters |
|---|---|---|
| Business Portfolio | Admin or full-control access | Lets you add and verify the domain |
| Domain DNS | Permission to create a TXT record | Usually the fastest verification route |
| Website files | Ability to upload a file | Needed for HTML-file verification |
| Site template | Ability to edit <head> code |
Needed for a meta-tag method |
| Tracking setup | Pixel or dataset access | Needed after verification for events |
| Redirects | Knowledge of final URL behavior | Prevents verifying the wrong hostname |
Save the current setup before changing anything. Copy the existing DNS record values and take a screenshot of the Meta verification screen. A screenshot helps a developer or DNS administrator reproduce the exact token without guessing.
Choose a Verification Method
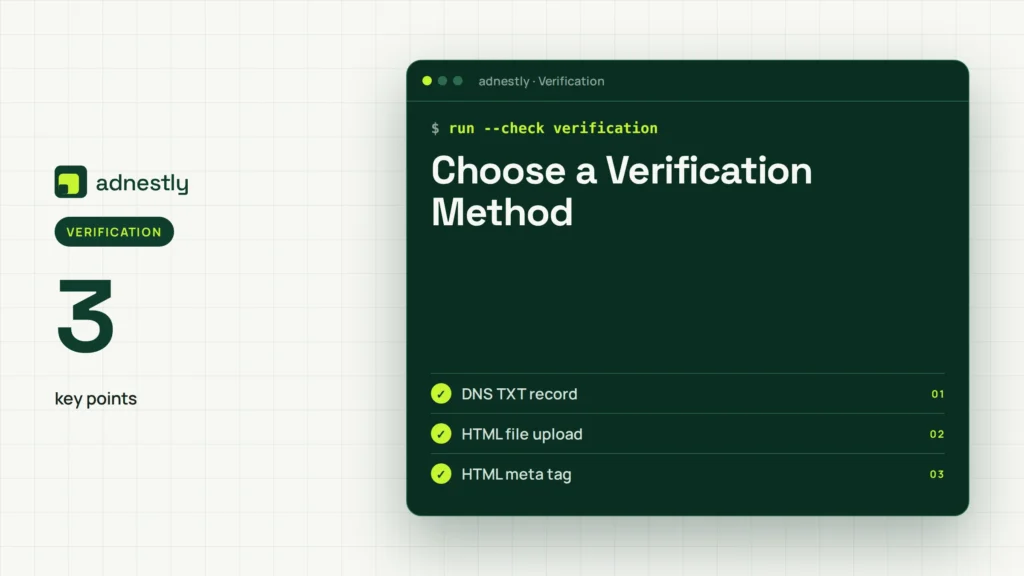
Meta generally offers three practical methods: DNS TXT, HTML file upload, and an HTML meta tag. Choose based on the access you have, not on which option appears first.
DNS TXT record
A DNS TXT record is usually the most durable method. It remains independent of your content management system, website theme, redirects, and page templates. It’s a good choice for businesses that can access DNS but don’t want to edit site code.
Use DNS verification when:
- Cloudflare or your registrar manages DNS
- Your website runs on Shopify, Wix, or a hosted platform
- Several developers maintain the website
- You expect to redesign or migrate the site
- You want verification to survive a theme change
The drawback is propagation time and confusion over the DNS host. Some providers accept @ for the root domain; others expect the domain name or leave the host field blank.
HTML file upload
An HTML file upload places a specific file in the website’s public root directory. Meta checks that the file is reachable at the required URL.
Use it when:
- You have hosting or file-manager access
- You can place a file in the public web root
- Your organization doesn’t permit DNS changes
- Your website platform supports static files reliably
This method can break after a migration, a deployment cleanup, or a security rule that blocks unfamiliar files. Keep the file in place after verification unless Meta explicitly says it can be removed.
HTML meta tag
A meta tag goes inside the <head> section of your homepage. It can be convenient for a WordPress, Shopify, or custom site where an administrator can edit global header code.
Use it when:
- You can edit the homepage header
- A plugin or theme supports custom verification tags
- You can’t change DNS or upload files
- Your homepage is publicly accessible to Meta’s crawler
It’s more fragile than DNS. A theme replacement, cache purge, or SEO-plugin change can remove the tag and cause a later check to fail.
| Method | Best for | Typical obstacle | Durability |
|---|---|---|---|
| DNS TXT | DNS administrators | Wrong DNS provider or host value | High |
| HTML file | Hosting administrators | Wrong folder or blocked file | Medium |
| Meta tag | CMS administrators | Tag placed outside <head> |
Medium to low |
Choose one method first. Adding several methods at once can make troubleshooting harder, especially when one token is old and another belongs to a different Meta business.
Add the DNS Record
For most businesses, DNS is the cleanest route. In Meta Business Settings, open the domain area, choose Add, enter the domain, and select DNS verification. Meta will show a TXT value that’s unique to your business.
The exact labels vary by provider, but the process is usually:
- Open the DNS management panel for the domain.
- Choose Add record or Create record.
- Set the record type to
TXT. - Enter the host or name requested by the DNS provider.
- Paste Meta’s verification token into the value field.
- Leave TTL at the default unless your administrator has a reason to change it.
- Save the record.
- Return to Meta and click Verify.
Don’t paste quotation marks unless your DNS provider adds them automatically. Don’t add spaces, line breaks, or explanatory text to the token. If the provider splits a long TXT value visually, that may be normal; the published value still needs to match Meta’s token.
DNS fields explained
| DNS field | Common entry | Important detail |
|---|---|---|
| Type | TXT | Don’t choose CNAME or MX |
| Host/name | @, blank, or root domain |
Follow the provider’s format |
| Value/content | Meta’s token | Paste it exactly |
| TTL | Auto or default | Usually doesn’t affect correctness |
| Proxy | DNS only, if offered | TXT records aren’t proxied |
DNS changes can appear quickly but may take longer depending on caching and the provider’s systems. If Meta doesn’t detect the record immediately, wait before repeatedly editing it. Replacing the record several times can create multiple tokens and make it unclear which one is current.
Warning: Don’t delete unrelated TXT records. SPF, DKIM, DMARC, Google verification, Microsoft verification, and other service records may be essential for email or other tools. Add Meta’s token as an additional TXT record unless your DNS provider specifically requires combining values.
Use HTML or Upload
If DNS is unavailable, use the method that matches your website platform.
For an HTML file, download the verification file from Meta, upload it to the public root directory, and confirm that the file opens at the exact URL Meta provides. A common mistake is placing it in /public_html/uploads/ when Meta expects the root, such as https://example.com/meta-file.html.
For a meta tag, copy the full tag and place it inside the homepage’s <head> element. Don’t put it in the page body, a blog post, a footer widget, or a robots.txt file. If the website uses a caching system, clear or purge the cache before asking Meta to check again.
Platform-specific checks
- WordPress: Use a trusted header-insertion feature or theme setting, and confirm the tag is present on the published homepage.
- Shopify: Use the store’s available verification or theme-code area carefully; theme updates can remove manual edits.
- Wix: Use its site verification settings if available, then publish the site.
- Webflow: Place the tag in the project’s custom code head area and publish to the production domain.
- Custom hosting: Upload the file to the document root and test it in an incognito browser.
The verification file or tag must be publicly accessible. A login wall, maintenance page, bot challenge, password protection, or restrictive firewall may prevent Meta from reading it even though you can see it while logged in.
Confirm in Business Settings
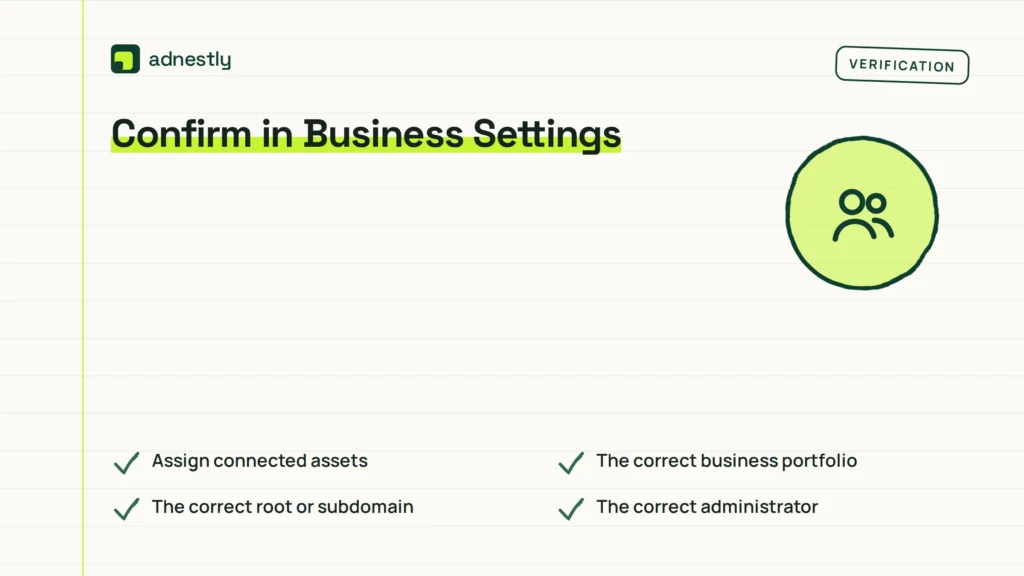
After adding the record, file, or tag, return to the same Meta business that generated the token. Open Business Settings, find the domain, and select Verify. Confirm that the status changes to verified rather than merely showing the method as added.
A successful status should be associated with:
- The correct business portfolio
- The correct root or subdomain
- The correct administrator
- The intended pixel, dataset, catalog, or ad account
If the domain is visible in one business but missing in another, you may be looking at different portfolios. Meta accounts can have multiple businesses, pages, ad accounts, and datasets, so check the business selector before making changes.
Assign connected assets
Verification alone may not assign the domain to your ad account. Depending on your setup, review domain permissions and connected assets. Look for the relevant:
- Ad account
- Pixel
- Dataset
- Catalog
- Page
- Instagram account
Give only the access needed. A contractor may need partner access rather than full business control. Remove former agencies and unused users from sensitive assets when the project ends.
Pro Tip: Ask the person who controls DNS to copy the token directly from Meta into a shared ticket or password-managed work note. Sending it through several people increases the chance of a missing character or extra space.
Configure Web Events
Once the domain is verified, you may still need to configure web events in Events Manager. This is a separate step from proving domain control.
Review whether your site sends the events that matter to the campaign, such as:
- Purchase
- Lead
- CompleteRegistration
- InitiateCheckout
- AddToCart
- ViewContent
- Contact
Use the event-testing tools available in Events Manager to check whether the browser pixel or server-side Conversions API sends events. Look for duplicate purchases, missing values, incorrect currency, and events firing on the wrong page.
If Meta presents a web-event configuration or prioritization screen, select events that reflect your actual business objective. Don’t choose a purchase event if the site never sends a reliable purchase signal. A selected event that doesn’t fire won’t produce useful optimization.
Tracking review table
| Check | Healthy result | If it fails |
|---|---|---|
| Domain status | Verified | Recheck the selected business |
| Pixel or dataset | Receiving activity | Inspect code and permissions |
| Purchase event | Fires after a real test order | Check thank-you-page logic |
| Event value | Correct amount and currency | Review data-layer mapping |
| Browser/server match | No unexplained duplicates | Review event IDs |
| Consent behavior | Matches local requirements | Consult your privacy team |
Important: Privacy consent, cookie restrictions, browser changes, and regional laws can affect measurement. Domain verification doesn’t authorize tracking without the appropriate notices, consent handling, or legal review.
Fix Common Failures
Most verification failures fall into a small number of patterns. Diagnose the exact method before changing anything.
“DNS record not found”
Check the authoritative nameservers first. The company that sold the domain may not host its DNS. Then verify:
- The record type is TXT
- The host field is correct
- The token has no typo
- The record was saved in the live DNS zone
- You didn’t add it to
wwwwhen Meta expects the root - A second DNS provider isn’t being edited by mistake
If a public DNS lookup shows the token but Meta still fails, wait for caching and retry from the original business portfolio.
“Meta tag not found”
View the published homepage source, not only the editor preview. Search for the exact token and confirm it appears inside <head>. Check whether a consent manager, optimization plugin, or security tool strips unknown tags.
A redirect can also cause trouble. If example.com redirects to www.example.com, make sure Meta’s requested domain and the published tag are aligned.
“File not found”
Open the verification URL in a private browser window. If it returns a 404, login page, redirect, XML response, or access-denied message, Meta may also fail to read it. Upload the file to the public document root, preserve its filename and extension, and publish the site if required.
“Domain belongs to another business”
This can occur when a former agency verified the domain, a different company owns the business portfolio, or an employee added it previously. Identify the existing business administrator and follow Meta’s available release or dispute process. Don’t create multiple duplicate domains while ownership is unclear.
Warning remains after verification
Clear browser cache, reopen the correct business portfolio, and check the domain status in Business Settings rather than relying only on the campaign draft. Campaign screens can lag behind asset settings.
Warning: Don’t repeatedly remove and re-add the domain as a first response. That can create duplicate configurations, disconnect asset relationships, and make it harder to identify the original problem.
Prevent the Warning Returning
Verification can be lost or appear broken after routine website work. Add it to your launch and maintenance checklist.
Protect the setup by:
- Keeping the DNS TXT record during registrar or hosting changes
- Preserving the HTML file during deployments
- Documenting the meta tag in your website code repository
- Giving at least two trusted administrators appropriate access
- Recording which business owns each domain
- Reviewing agency access after contracts end
- Testing redirects after a rebrand or domain migration
- Checking pixel and dataset permissions after account restructuring
A domain migration isn’t just a redirect project. If the business moves from oldbrand.com to newbrand.com, verify the new domain and update ad URLs, event configuration, catalogs, email templates, and analytics settings.
For technical background on Meta’s domain verification mechanisms, the Meta domain verification guide describes the verification approaches and implementation context.
Frequently Asked Questions
Does an unverified domain stop my ads?
Not always. Ads may continue running, but Meta can restrict certain website events, create setup warnings, or reduce your ability to manage web conversions. Verify the domain before launching an important campaign so the conversion setup is available and consistent.
How long does domain verification take?
DNS verification may work quickly but can take longer when DNS caching is involved. HTML-file and meta-tag checks can work after the website publishes the change. If the token is correct and publicly visible but verification still fails, wait, then retry from the same Business Portfolio that generated it.
Can I verify a domain without DNS access?
Yes. Meta commonly supports an HTML file or meta tag method as alternatives. You still need suitable website or hosting access, and the file or tag must be publicly reachable on the domain Meta asks you to verify.
Should I verify www or the root domain?
Use the domain Meta identifies and the domain used by your final landing page. In many setups, verifying the root domain is preferable, but a subdomain may need separate treatment. Check redirects, checkout URLs, and event sources before deciding.
Why is my domain verified but my pixel not working?
Verification proves domain control; it doesn’t install or repair tracking. Check the pixel or dataset ID, browser code, server events, consent behavior, event parameters, and asset permissions. A verified domain can still have missing events, duplicate purchases, or an incorrect currency.
Can an agency verify my business domain?
An agency can help if it has the necessary partner permissions and your business authorizes the work. The domain should remain owned by your business portfolio, not permanently tied to an agency account. Review admin access and remove unnecessary permissions when the engagement ends.
Conclusion
Open Business Settings now, identify the exact domain in the warning, and choose DNS TXT unless your website administrator has a strong reason to use another method. After Meta shows “verified,” test one real conversion path and confirm that the intended event reaches the correct dataset.

Aaron Kelly writes about Facebook tools, account management, and business advertising. His content covers account security, Facebook Ad Accounts, Business Manager setup, Pixel and conversion tracking, Business Manager verification, and admin profile verification. He focuses on explaining technical processes and common account issues in practical terms, helping businesses and advertisers manage their Facebook assets more effectively and build a more secure, reliable advertising setup.
Checked against Meta’s own documentation. How we write and update guides